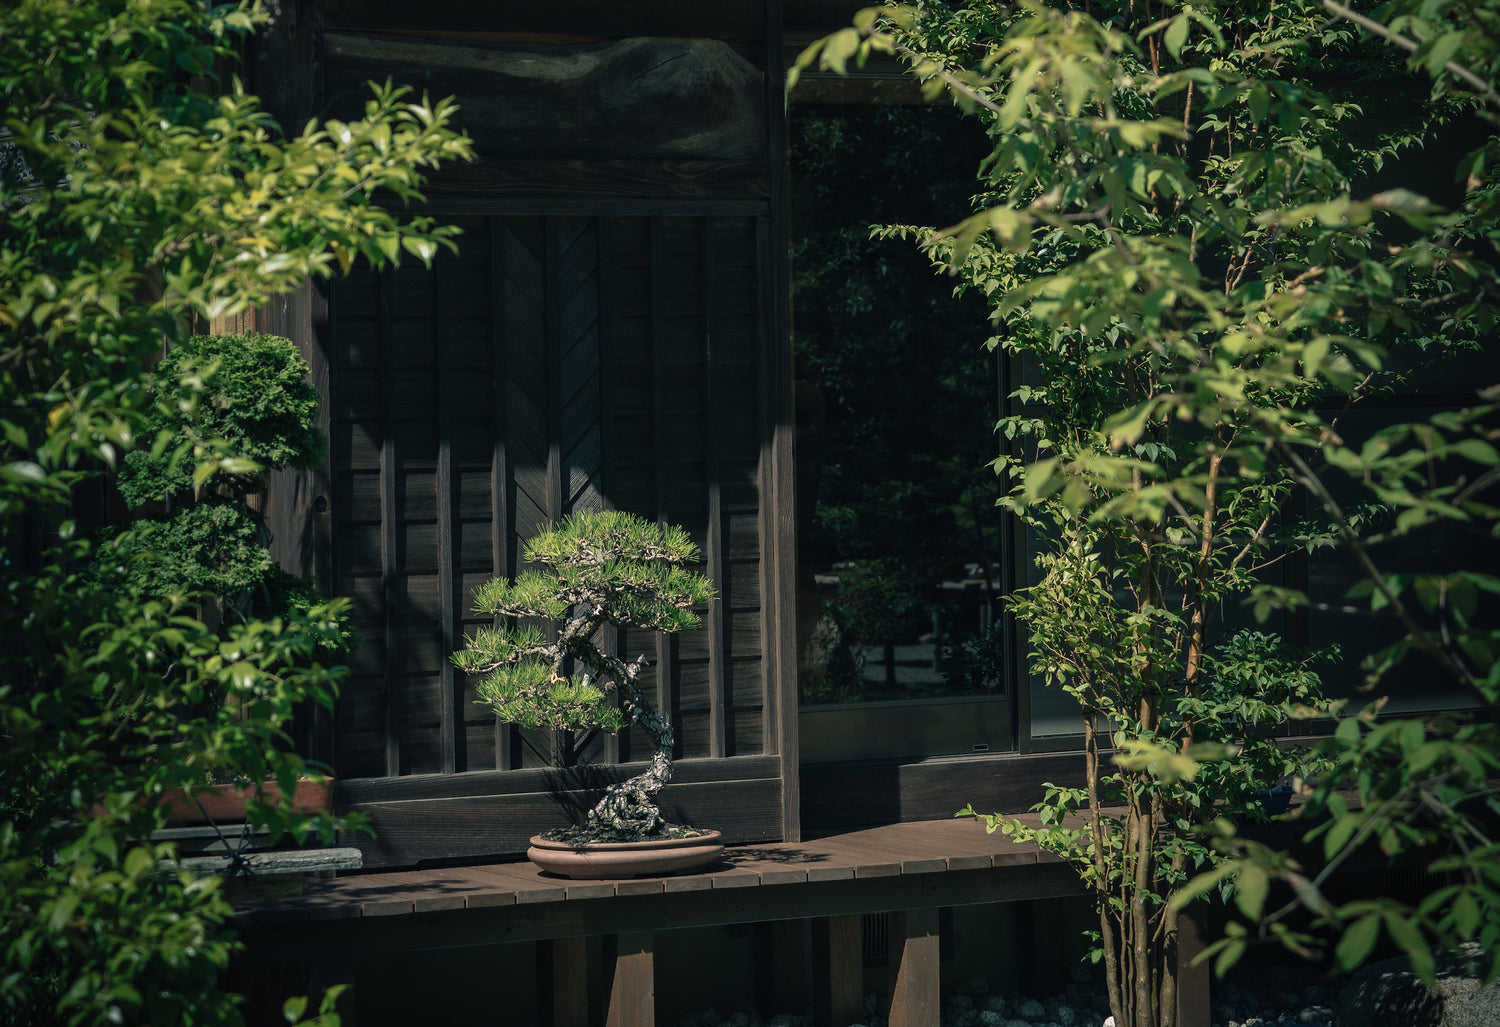
Repotting your bonsai tree is a vital part of keeping it healthy and looking great. When you repot your tree, you will refresh the soil and add top dressing for the final touch. In this article, we will walk you through how to make the best moss mixture for a successful bonsai repotting.
Why use top dressing?
Top dressing is a mixture of shredded sphagnum moss and a variety of green mosses as well as lichens used to cover the surface of freshly repotted bonsai in order to accomplish two goals: First, to aid in water retention and water balance in the soil column of the bonsai pot, and second to act as the starting point for a beautiful green moss ground covering on our trees.
Step 1: Collect, Dry and Crumble Moss
The first step is to collect moss. You can collect it from your yard or the side of the road. Refrain from collecting moss from the forest as it can unbalance local ecosystems. As much as you can, try to collect a variety of different moss to bring nuances and maximize chances for the moss to develop nicely on the fresh soil.
Once collected, spread it and let it dry on newspaper or in trays. You can remove debris by gently tapping the moss or scrubbing the underside. Crumble it by hand to reduce clumpiness, so it can dry out faster.

Step 2: Grade the Moss
Next, sift the moss through a quarter-inch screen. You don't need any of the stuff that is smaller than 1/16, as it's too small for the purposes that we're using. You can use it for something else or put it in your yard. In this setup, we use the top quarter-inch screen to casually grade. The middle and bottom screens are to catch the moss that doesn't make it through.
Keep the graded moss in a bucket for later use.


Step 3: Shred the sphagnum moss
Do the same sifting and crumbling for the sphagnum moss. Sphagnum is usually very dry and thready. Make a ball of moss in your hand and scratch it on the screen so it crumbles in the same manner as the green moss.
Step 4: Ink the sphagnum moss
In a bucket, mix the sphagnum moss with water and add ink to it. Use enough ink to make the moss a nice gray color. The moss should be allowed time to absorb water and ink. Let it rest for a while. With gloves, collect a handful and squeeze it gently. If the moss is still yellow, add more ink and wait a bit more. Pro tip: The water always appears darker than the moss really is.

Step 5: Let the Moss Dry
Once the sphagnum moss is properly colored, spread it to let it dry. It can take some days for the moss to become completely dry if it's been raining outside. So, doing this process well in advance of repotting days is the right move.


Step 6: Mix the Moss
Take one part green, fluffy, beautiful green moss, and one part dyed sphagnum moss. Mix them together. The result should be a beautiful looking combination of sphagnum moss and multiple species of green moss that you can use as a top dressing after you report trees. This mix can be stored in a box and kept dry, so don’t hesitate to prepare more in advance for the whole repotting season.

Step 7: Repot Your Tree
Repot your bonsai tree, scraping off any old moss. Save the moss and let it dry for your next batch of top dressing prep. By applying the top dressing on the soil, this will create a softer, more pleasant look for your bonsai tree. It will also prevent the soil from being swooped away when watering and help with moisture balance.
The moss mixture will help to create a faster moss development. After a few months you will enjoy a beautiful bonsai tree with green shades to highlight your tree.


Creating and using top dressing for repotting your bonsai tree is an easy and effective way to keep it looking beautiful and healthy. By following these seven simple steps, you'll be able to create top dressing that not only looks great but also provides essential help to the health of your tree.


